
Brocwithe Quarter Remnant 2: Detailed Guide ( Quest, Boss, Rewards)

In Remanat 2, you will explore various realms, including Sentinel Keep, the Gilded Chambers, and the Brocwithe Quarter. All these areas will provide you with an exhilarating experience with multiple boss fights, intriguing quests, potent weapons, and exciting rewards.
This guide will walk you through the Brocwithe Quarter Remnant 2 and entail all necessary details, including the location, quests, boss fights, and loot available.
Brocwithe Quarter Remnant 2 – Overview
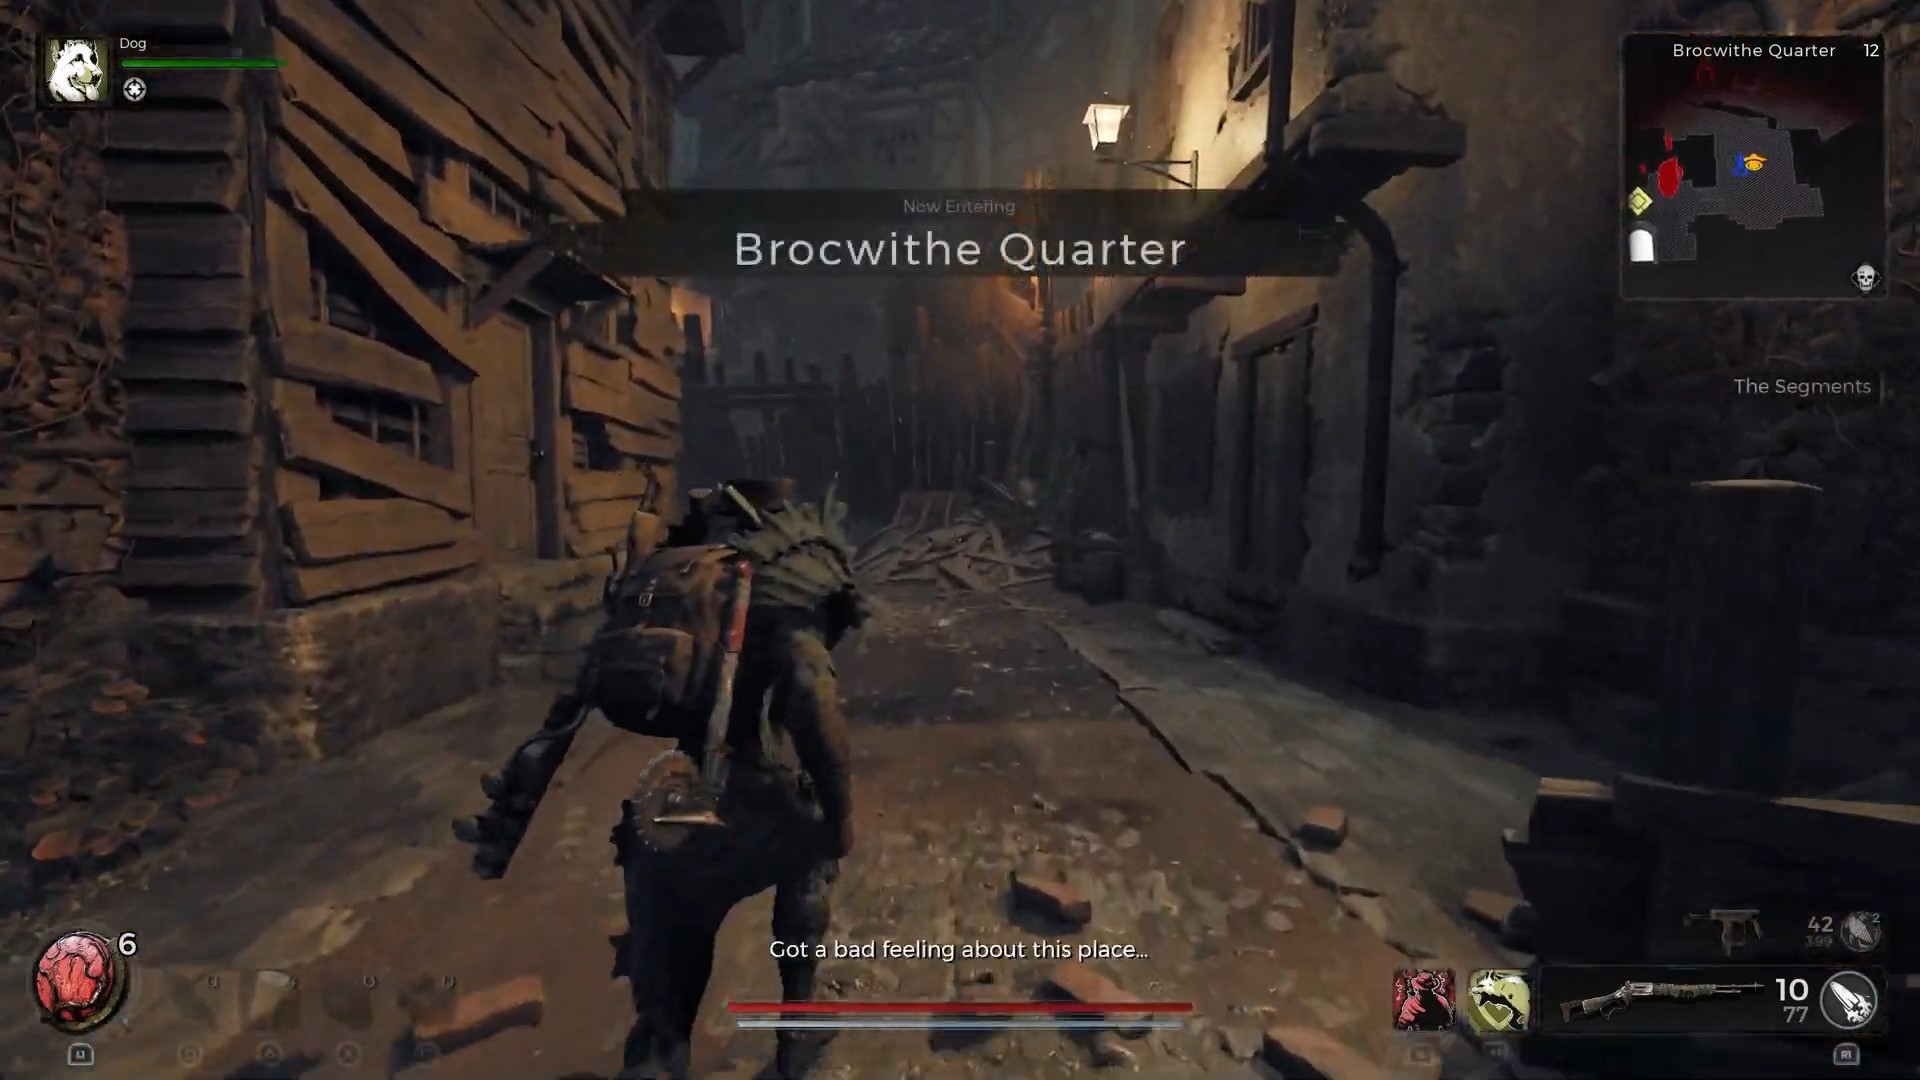
Brocwithe Quarter is a region in Remnant 2 overrun by a horde of mutated creatures driven by a single-minded desire to kill. These deadly creatures are referred to as the Infected.
You will find a checkpoint as soon as you enter the Brocwithe Quarter. Continue ahead of the checkpoint, and you will find a path spreading out into different branches.
There, you will come across another checkpoint. Simply head over toward the checkpoint, and you will ladder right next to it. This ladder is your way forward in the Brocwithe Quarter.
However, before you proceed further, it is recommended to look around, and you will find a chest that contains a random Relic Fragment. Now, if you leave the area and head downstairs, you will find another Relic Fragment.
Once you have collected the Relic Fragments, you can proceed to the ladder and use it to take you to an old lady on the knitting machine caring for many children.
As soon as you step into the Brocwithe Quarter, the Oracle of Dran quest begins on its own. The oracle, an old lady on the knitting machine caring for many children, holds a crucial position in this undertaking.
Brocwithe Quarter Oracle of Dran Quest
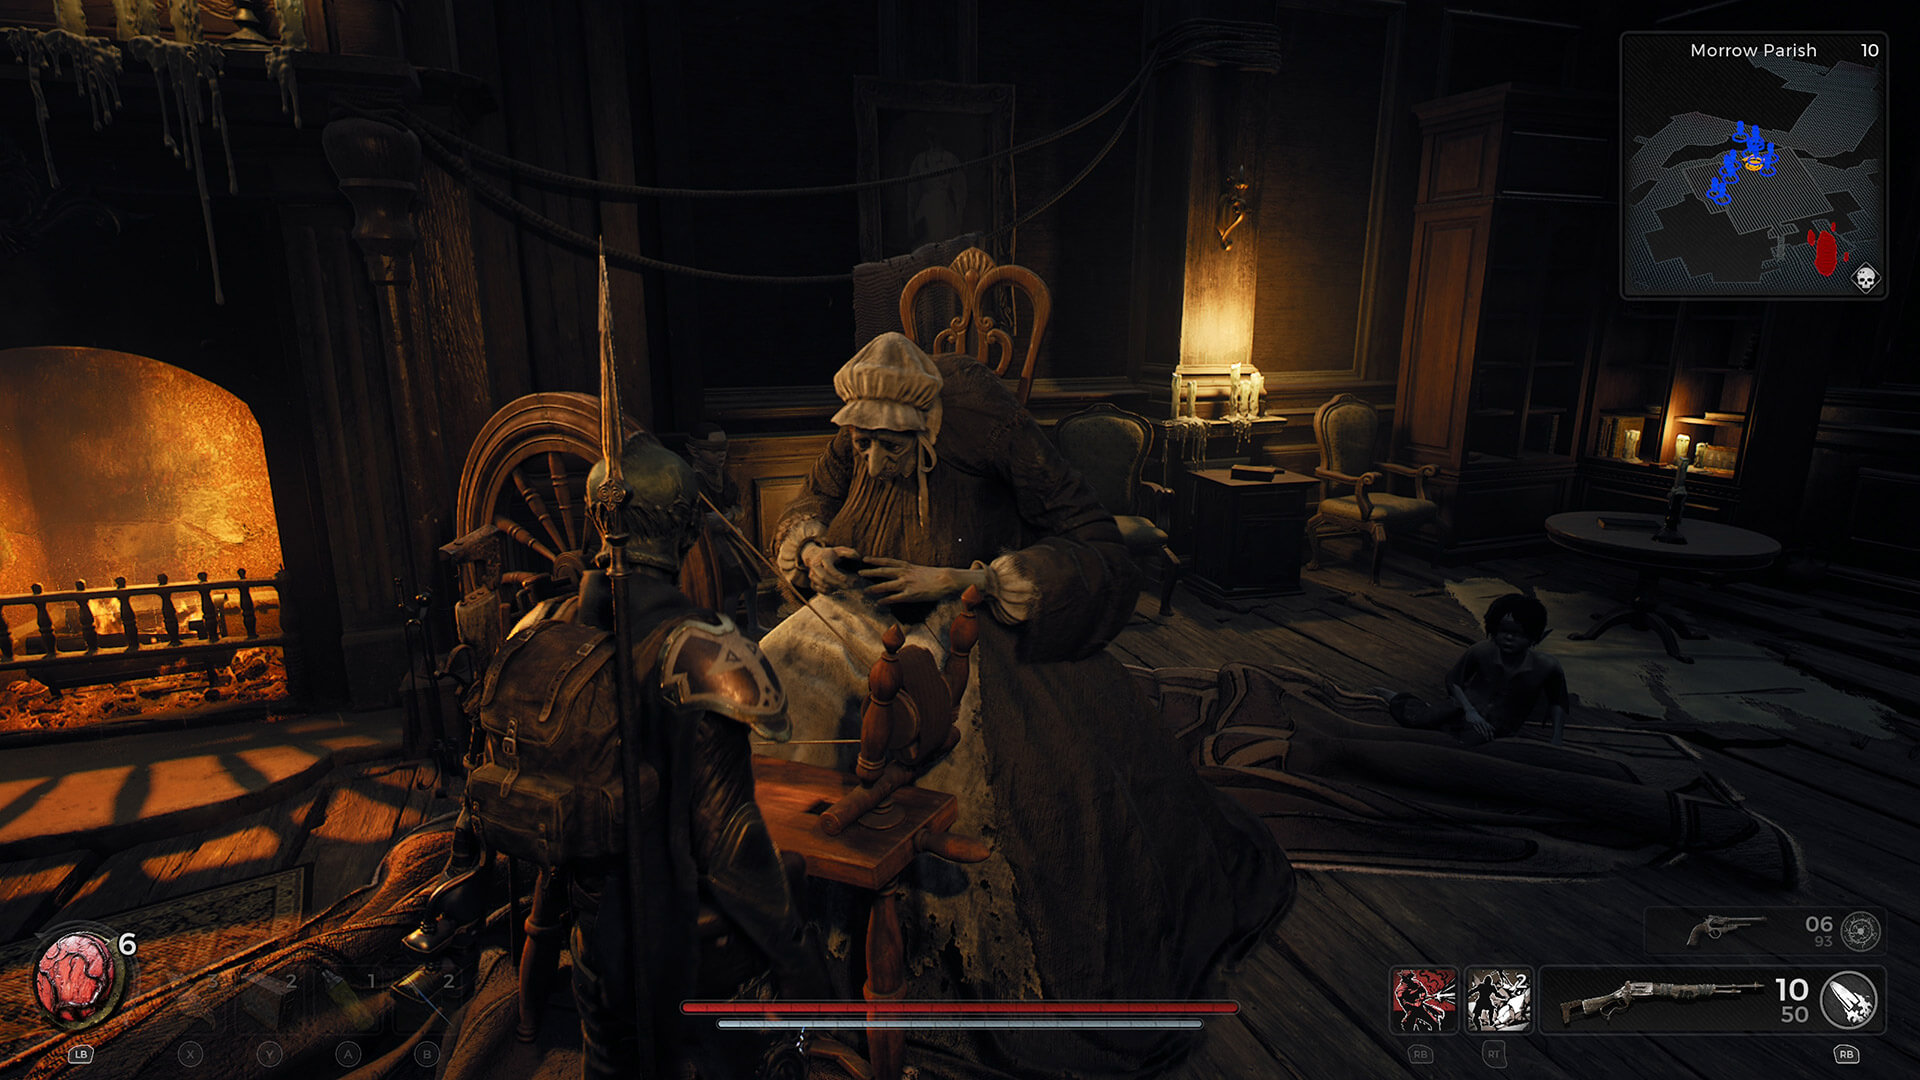
In Remnant 2, the Oracle of Dran holds a crucial role as an NPC, offering quests that bestow valuable rewards: a trait and an enduring buff. Additionally, she is the skilled artisan behind the progress-tracking quilt. You can encounter the Oracle of Dran in one of three Losomn locations: Morrow Parish and Forsaken Quarter.
To find her, you must locate the expansive space called the Oracle’s Refuge. Access to the building is provided by a wooden ladder placed outside. Upon entering, you’ll discover her seated on a commodious sofa, accompanied by the Dran children, with a knitting machine before them. A sizable quilt adorns the floor. It’s important to note that attempting direct interaction with her will yield no response; she remains unresponsive until her initial quest is completed.
How To Complete The Oracle of Dran Quest
In Remnant 2, the Oracle of Dran Quest, your first objective is to find the two missing Dran children. Search the surrounding area thoroughly and keep track of their progress until they reach the hiding.
This will complete the quest and allow her to interact with the Recovery trait reward. In your conversation with her, she will tell you about the quilt she made.
How To Complete The Oracle Of Dran Quilt
The Oracle of Dran’s quilt in Remnant 2 is made up of 12 squares. They are initially blank, but as you progress through various events and face bosses around the world, they gradually fill with iconic images.
This serves as a progress indicator, indicating that the more squares filled, the closer you are to experiencing major world events. Each square on the quilt represents an event or boss in the world of Losomn.
It will take some time to complete all of these events in order to fill the quilt completely. As you complete each event, an iconic image will adorn one of the quilt’s squares.
When you’ve completed the quilt, you’ll be able to interact with the Oracle of Dran and claim your well-deserved reward: the All-Seeing Eye consumable. The entirety of the 12 events and bosses in Remnant 2 is crucial for finishing the Oracle of Dran quilt. Here is a list of all 12 bosses
- Postulant Parlor (Event)
- Bloat King (Boss)
- The Feast (Event)
- Nightweaver (Boss)
- Magister Dullian (Boss)
- Gwendyl: The Unburnt (Boss)
- The Red Prince (Boss/Event)
- Find Dria (Event)
- Council Tribunal (Event)
- Fearin/Faelin (Boss)
- The Burning (Event)
- Man in the Sewers (Event)
Read More About The Quest of Eternal Empress in Remnant 2
Brocwithe Quarter The Huntress Boss
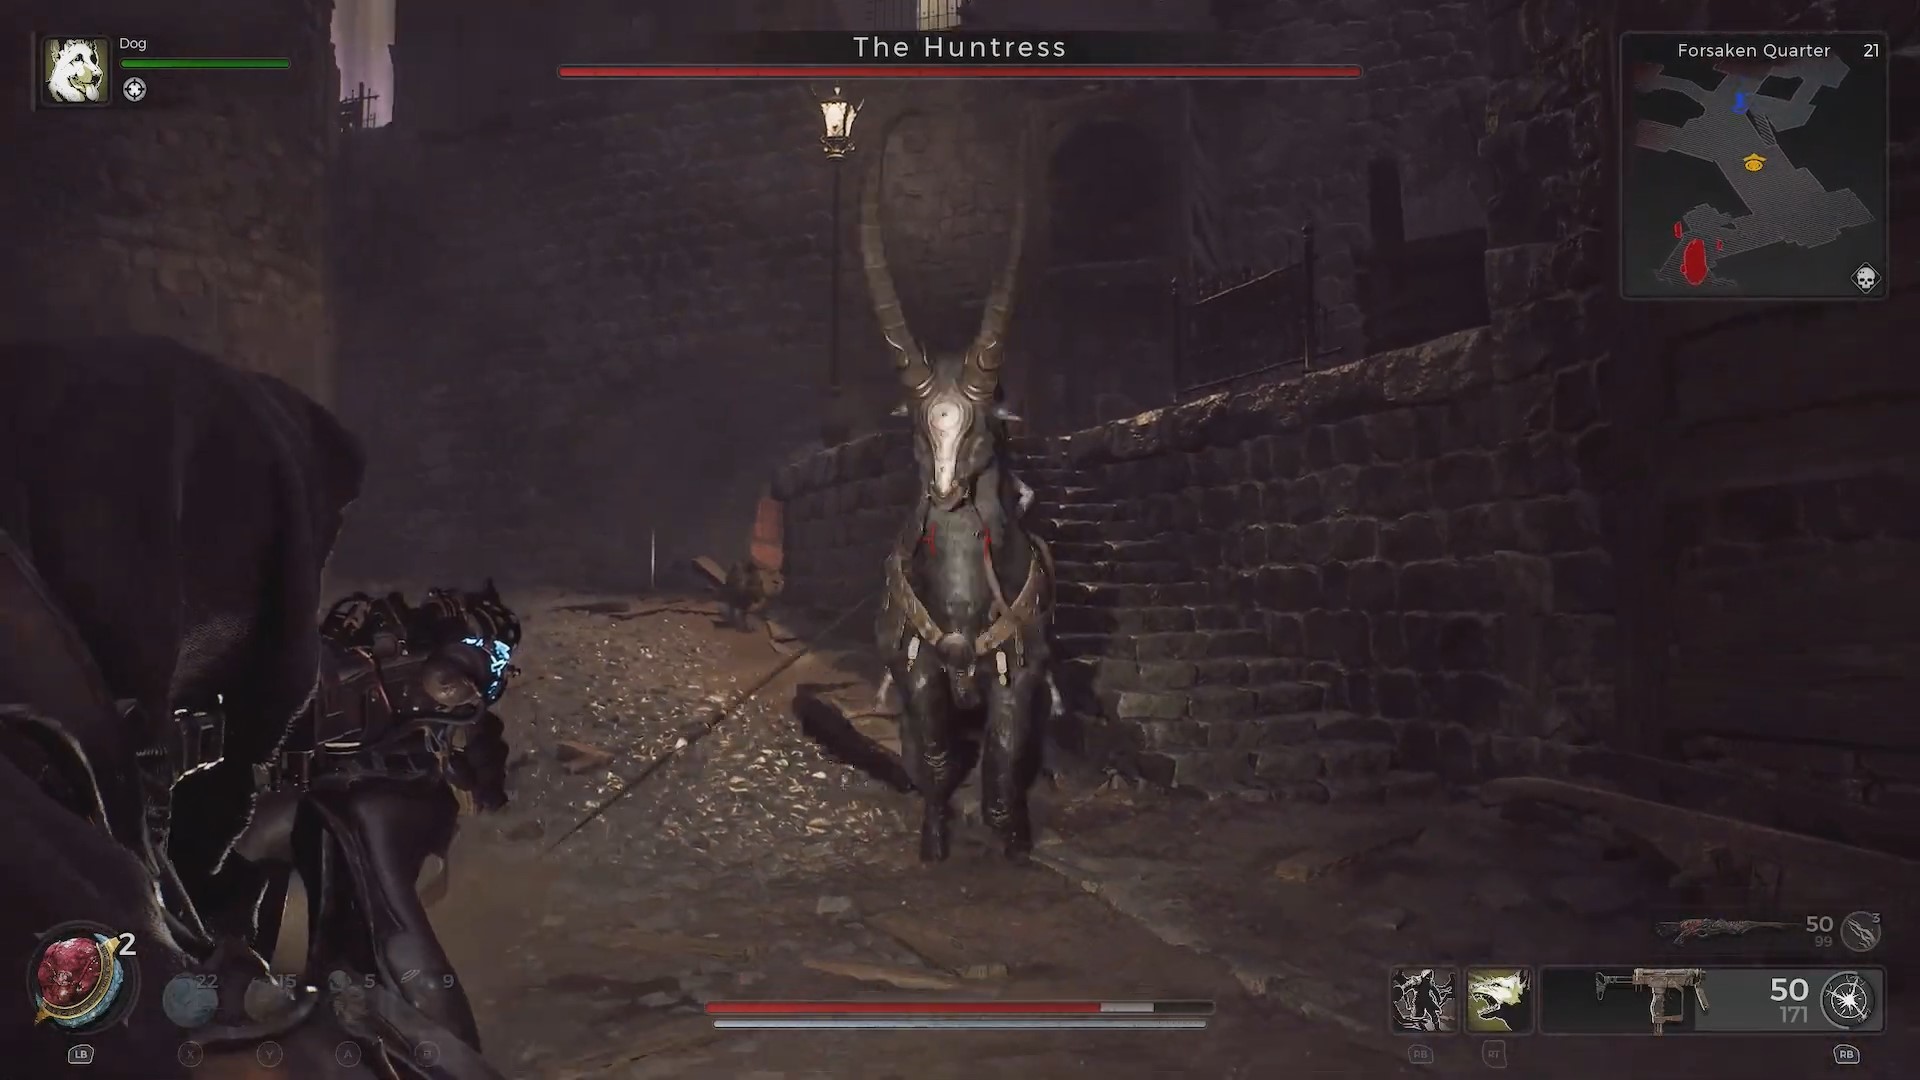
In the Brocwithe Quarter, you’ll encounter The Huntress in Losomn, peacefully resting under an archway with her goat-like companion. It may take some thorough searching before you stumble upon her.
To provoke a confrontation with Huntress, you merely need to strike her and rouse her from her profound slumber.
How To Defeat The Huntress
It’s critical to become acquainted with key aspects of The Huntress before engaging in combat. She employs certain strategies that necessitate careful thought for a more seamless encounter.
The Huntress relies on close-quarters combat, deftly riding her mount and striking with her spear. It’s crucial to keep a safe distance, affording you enough time to react when she charges.
Moreover, Huntress mount’s charges include direct swipes, powerful horn thrusts, and a potentially deceptive triple-swipe combination. Simply be on the lookout for a tricky maneuver where she feints a triple swipe and transitions into a horn strike mid-attack.
In addition, Huntress can be perilous in tight spaces. She wields her spear for sweeping strikes, often in sequences of 2, 3, or sometimes 4 hits. The fourth strike is a forceful slam, while the third is an upward strike. Evade these by backpedaling and dodging.
It is recommended to use the environment, particularly walls, to create distance for safer ranged attacks. Furthermore, she summons three spectral crows that swiftly approach, dealing damage upon contact.
Simply be agile to dispatch them and avoid their lethal impact. The only break in the fight occurs when Huntress morphs into a raven. They move slowly and can be taken out for valuable ammo and consumables.
Then there’s the Cyclone Slash—a formidable whirlwind attack hurtling toward you with full force. When she starts the spin, swiftly sidestep to evade. To ensure Huntress stays down for good, maintain your distance and study her attack patterns throughout the battle.
To bring her down, avoid as many strikes as possible and target her weak spots. Exploit these vulnerabilities to secure victory. Additionally, whenever possible, position yourself in areas with ample room to maneuver and anticipate her onslaught.
The Huntress Rewards
The outcome and reward for the battle against The Huntress are determined by how you choose to fight. There are two approaches, and the rewards differ on the approach you take.
1. Venerated Spearhead
In this scenario, you encounter The Huntress asleep beneath the bridge. Simply awake her with a shot and then enter into combat. Upon defeating her, you will obtain these rewards.
- Scrap
- Lumenite Crystal x3
- Tome of Knowledge
- Venerated Spearhead
2. Sacred Hunt Feather
In an alternate scenario, you’ll enter combat using the Dreamcatcher, a melee weapon obtainable by delivering the Nightweaver Stone Doll to a cobweb in the jail cell of Tormented Asylum.
Next up, strike the slumbering Huntress with the Dreamcatcher to obtain a consumable called Huntress’s Dream. This item allows you to unlock and journey to Briella’s Reverie.
There, you’ll encounter the bloodthirsty huntress mounted on a goat poised atop a building. Upon shooting her, she’ll initiate combat. Successfully defeating her in this scenario will yield the following reward:
- Scrap
- Lumenite Crystal x3
- Tome of Knowledge
- Sacred Hunt Feather
Up Next:
- Remnant 2 Butcher’s Quarter Secret: Find the Secret about the Hanging Man
- Which Among Remnant 2 Survivor Vs Veteran Is A Better Choice?
- Remnant 2 Council Chamber: Find out all the puzzles and the secret room
Author Profile
- As an RPG enthusiast, I immerse myself in the captivating worlds of virtual adventures uncovering hidden secrets and mastering game mechanics. Together, let's explore compelling worlds and embark on an adrenaline-packed journey.
More Articles
 GuidesDecember 14, 2023How To Get Potatoes In Starfield Explained? How to Find and Use (Complete Guide)
 GuidesDecember 6, 2023Sea of Thieves Guild Rewards – A Comprehensive Guide To Season 10 Guilds
 GuidesNovember 28, 2023Osrs Leagues 4 Areas – Exploring All 10 Regions [Complete Guide]
 ReviewsNovember 26, 2023Starfield Ballistic vs Laser Weapon: Best Choice Explained