
Remnant 2 The Lament Dungeon Guide and How to Find (All Puzzle & Secret Chests)
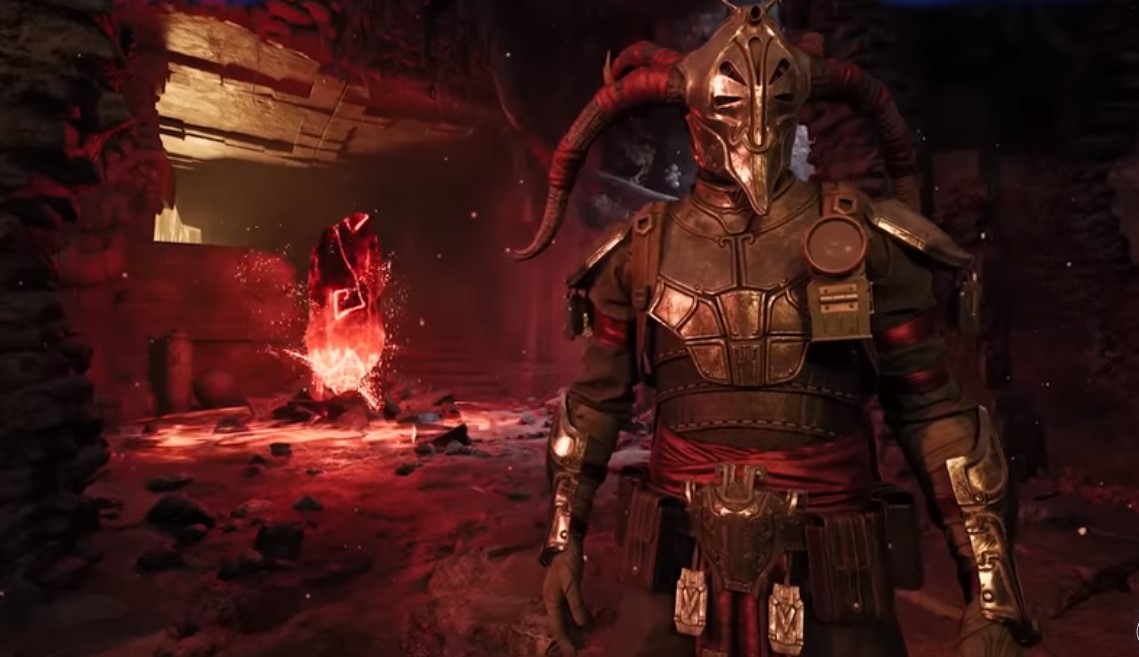
In Remnant 2 The Lament is an optional dungeon located in Yaesha. It features puzzles, traps, and valuable loot, providing a challenging yet rewarding experience for players. The combination of head-scratching puzzles, tomb-raider ambiance, booby traps, and eerie rooms filled with ancient corpses creates an intriguing atmosphere for players.
The promise of untold riches and valuable loot adds an extra layer of incentive for brave adventurers to undertake the challenges within the Lament. This guide will let you through each step of the journey, covering everything from deciphering symbols to overcoming the formidable Wither and acquiring valuable items.
Read more about How to complete The Great Hall feast event
What Is The Lament In Remnant 2
In Remnant 2 The Lament is a challenging dungeon featuring enemies and traps, offering a risk-reward scenario for players. Navigating through the dungeon involves facing various obstacles, but the potential for valuable loot and items makes it a worthwhile venture for those seeking rewards. Some of the bosses and items that you will encounter in The Lament by completing specific events are:
| The Lament Npcs | None |
| The Lament Merchants | None |
| The Lament Enemies | Root Zombie |
| The Lament Bosses | Wither, Rot |
| The Lament Items | Scavenger’s Bubble, Kolket Razor, Red Widow Armor, Lodestone Crown, Lithic Signet, Guardian’s Ring, Spirit Stone. |
| The Lament Events | Four Statues Secret, Random Drop |
Where To Find The Lament In Remnant 2

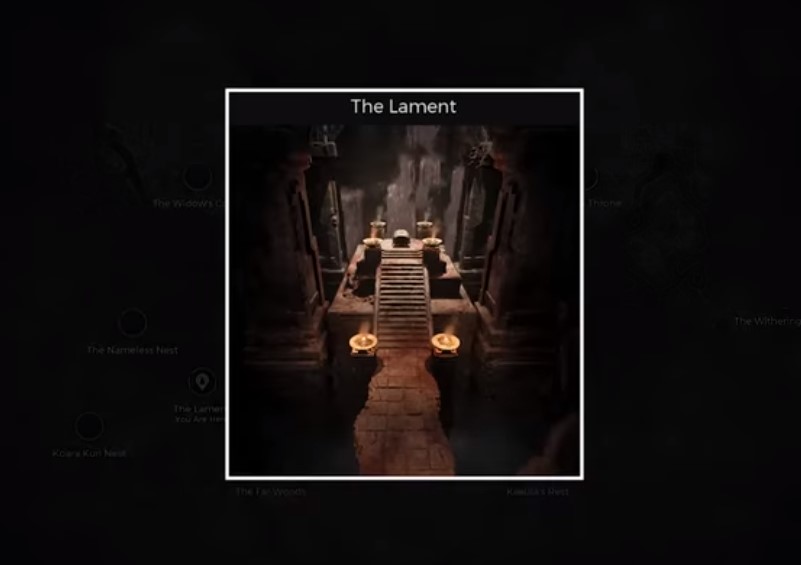
In Remnant 2, the randomized nature of locations presents a challenge in pinpointing specific dungeons. However, to discover The Lament, exploring Yaesha as part of the storyline is crucial. Upon entering, players gain the ability to save their progress, even in the face of defeat.
To find The Lament, head to Yaesha, specifically the Faithless Thicket. For first-time exploration, traverse the Forbidden Grove to Kaeula’s Rest, which leads to Faithless Thicket. Follow the wooded path from there to locate the entrance to The Lament.
Read more about How to solve the Cathedral of Omens puzzle
Remnant 2 The Lament Walkthrough
When you enter The Lament dungeon in Remnant 2 you will face many obstacles like arrows traps and bosses to reach the rewards. Let us uncover the ways to complete The Lament quest to earn rewards.
Passing By Arrow Traps
The first set of traps in The Lament involves avoiding instant-kill arrows emerging from the walls in three hallways.
- In the initial hall, arrows shoot from both sides, but crouching provides a safe passage. There’s a mid-way stone block to vault over, and on the other side, a floor trigger stops the arrows, facilitating easier traversal in co-op play.
- In the second hall of the Lament, arrows continue to shoot from both sides. Navigate by sidestepping to avoid them. Watch out for a floor trap in the middle that releases rapid arrows from the side you entered, so stay to one side of the path for safety.
- In the final arrow-filled hallway of the Lament, face similar traps from both sides, with added vertical arrow-shooting blocks at a slower pace. Beware of two traps in the middle, each after a stone block.
After safely crossing the deadly arrow traps, loot a nearby resource chest, then pull the lever to unlock the door to the next area.
Burial Chamber Puzzle
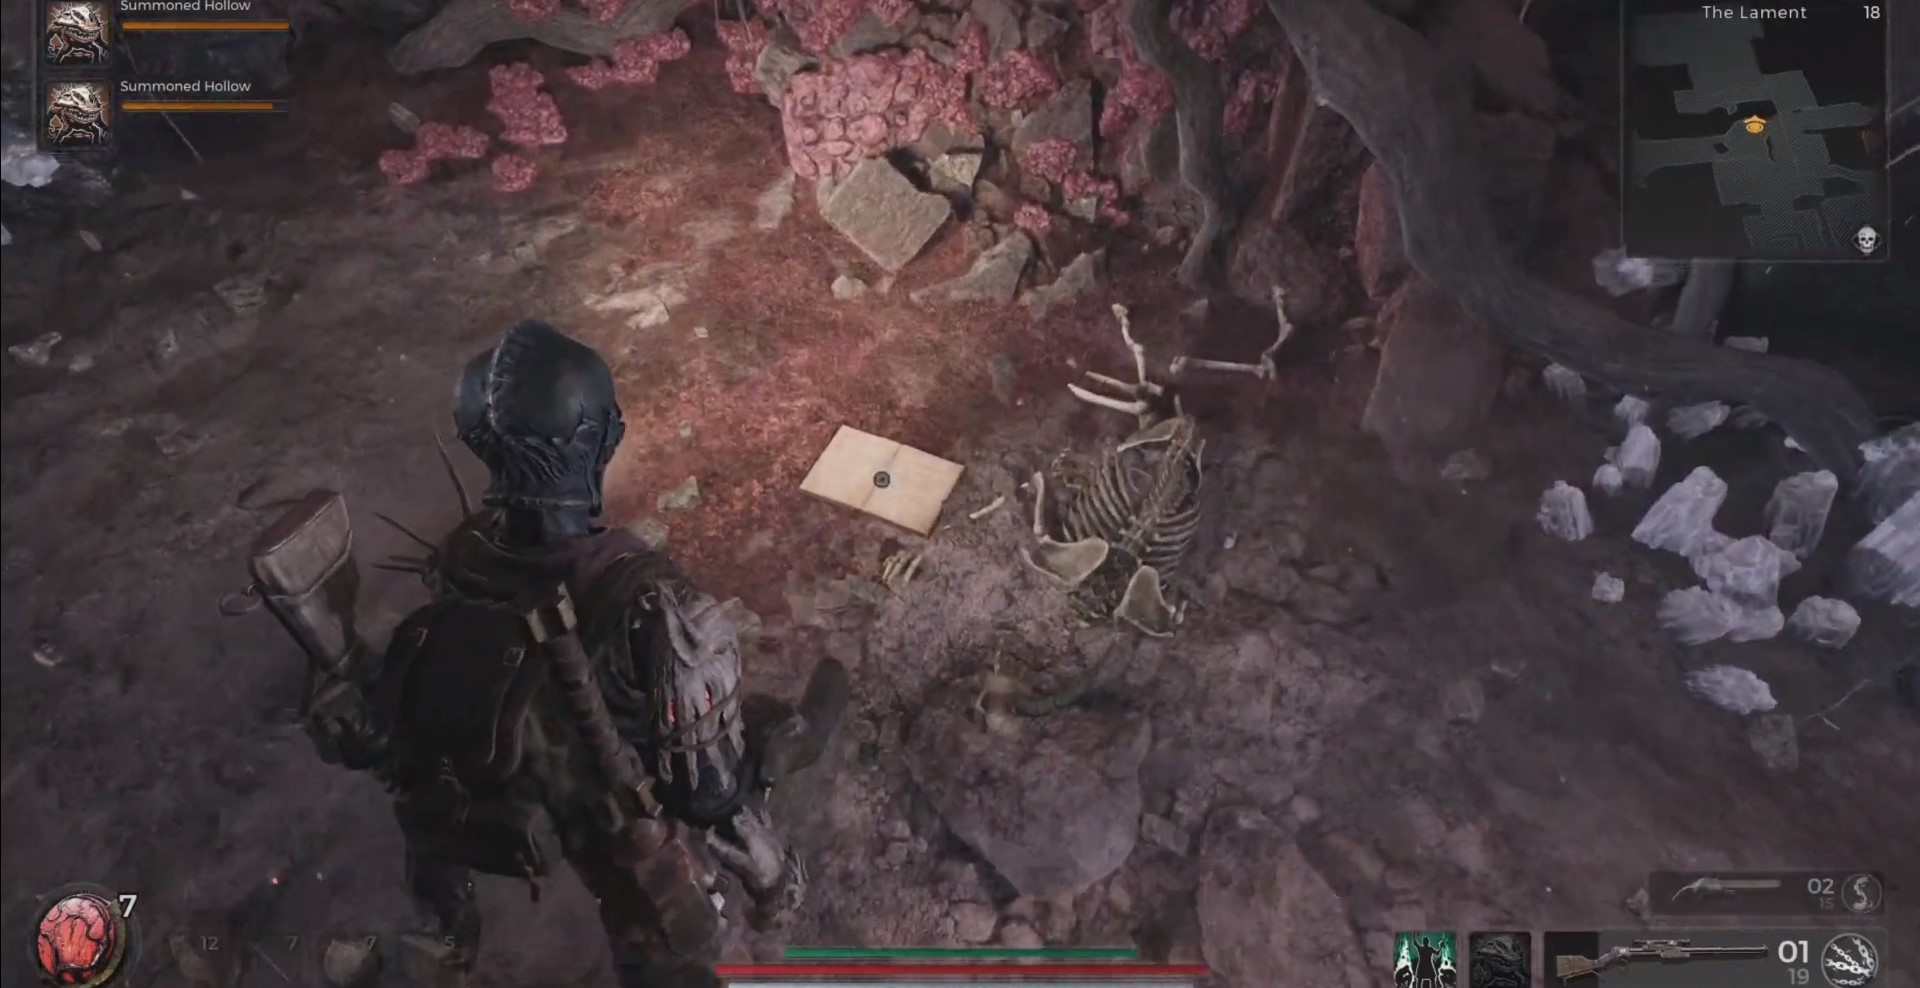
Upon entering the next room, move left and traverse to the opposite side. You have the option to confront or bypass the enemies; either way, continue advancing. Once on this side, take a leap into a ditch surrounded by graves.
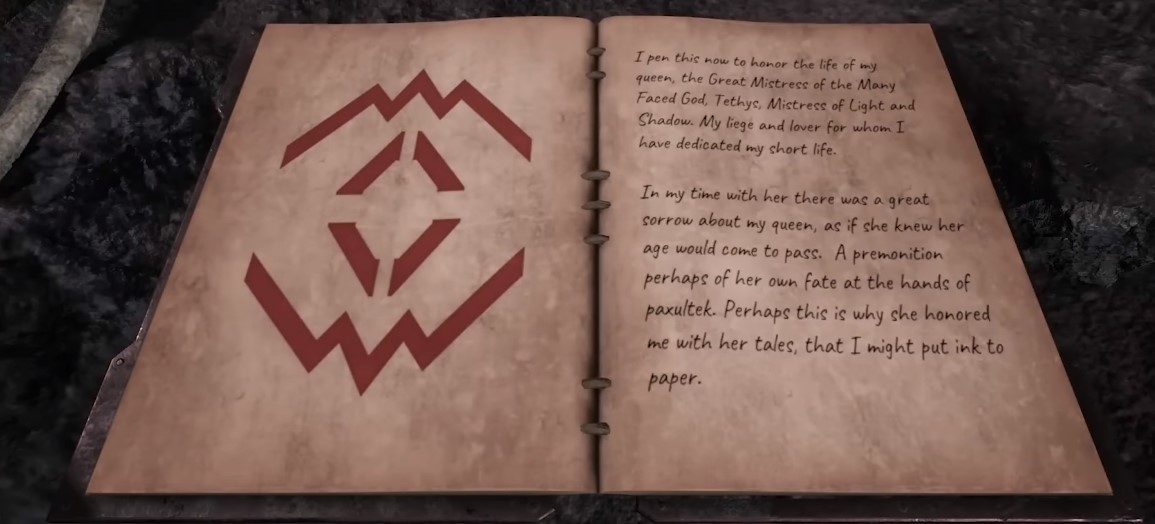
- Your primary objective is to locate a book that provides guidance on specific symbols. Although these symbols may vary for each player, the puzzle mechanics remain consistent. Match the symbols in the book with those on the bodies around the graves.
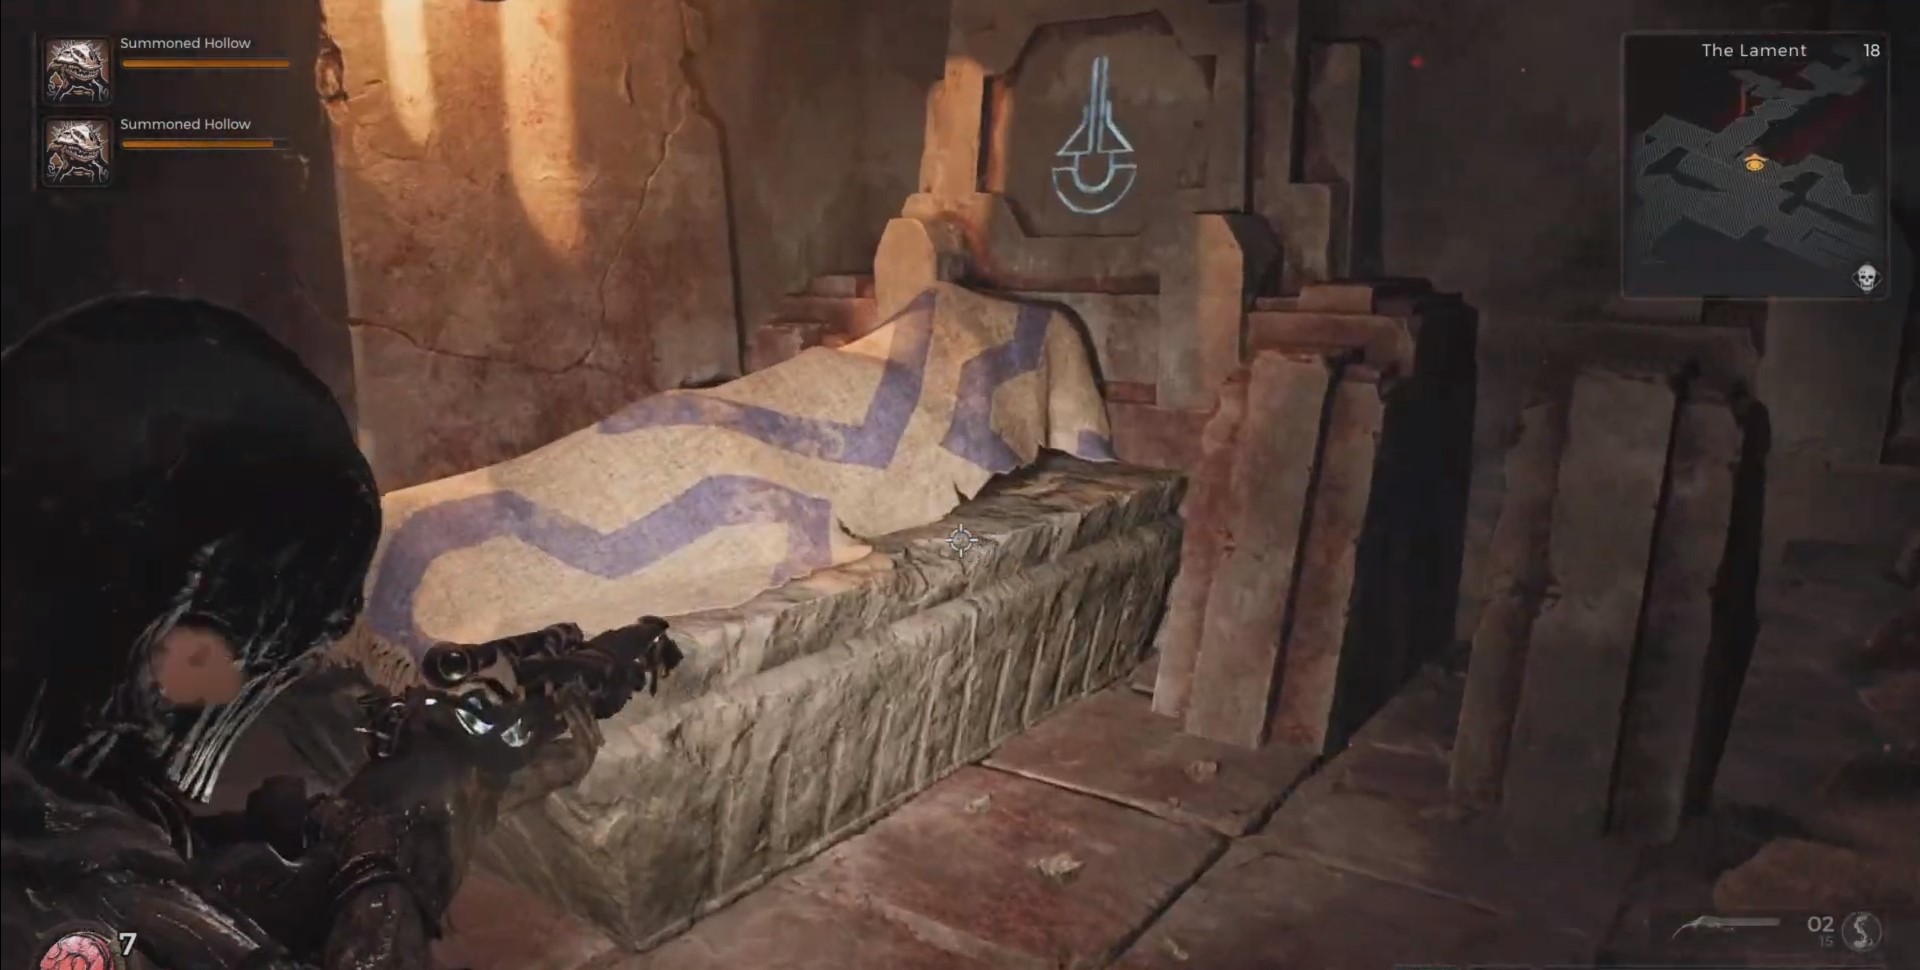
Remnant 2 The Lament: Match the Book Symbol with Bodies Symbol - When you find a body whose symbol corresponds to the one in your book, take note of the symbol above that grave on the wall. Repeat this process with four bodies sharing symbols with the book. This collection of four symbols is crucial for unlocking the puzzle.
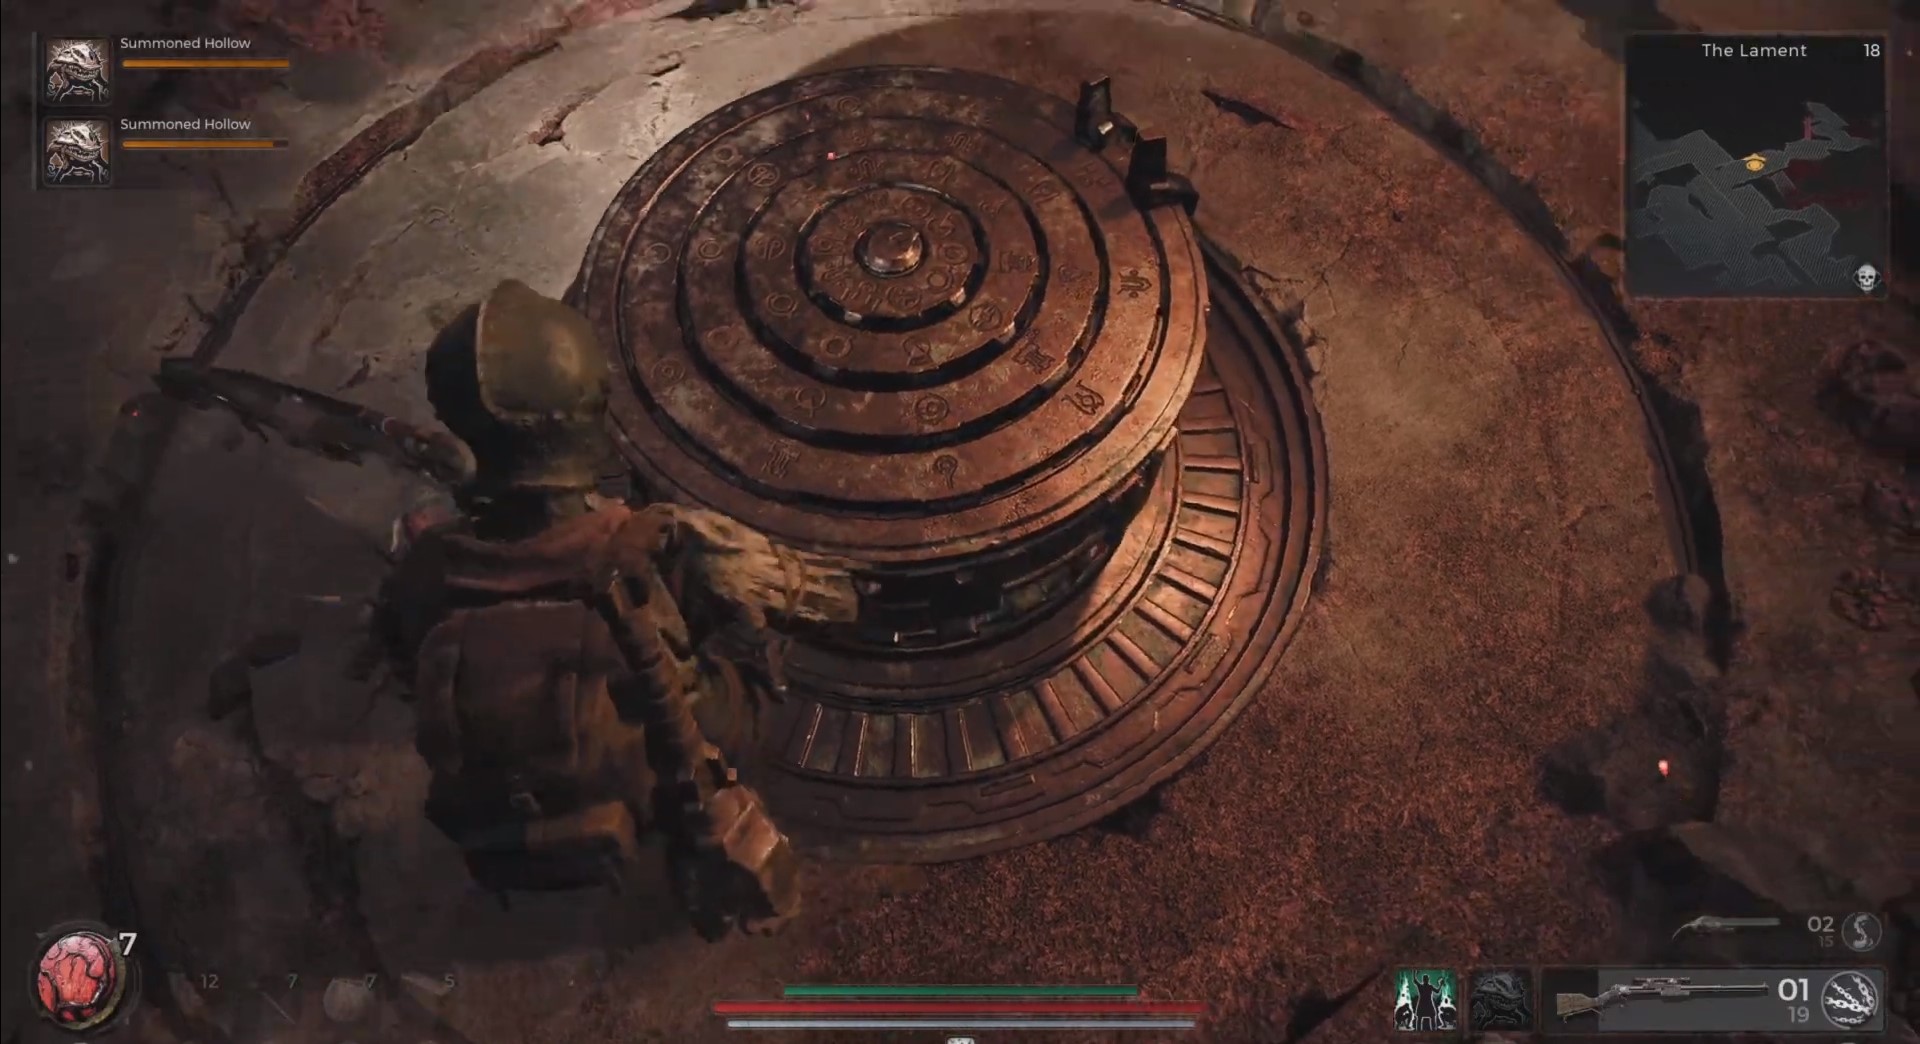
Remnant 2 The Lament: Solve Burial Chamber Puzzle - For the correct input sequence, when facing the entrance, proceed from left to right as follows: start with the top-right row, followed by the bottom-right row, then move to the bottom-left row. Finally, input the symbols from the outer ring to the inner ring of the lock.
After unlocking the door, hold off on entering. Remember to come back here after solving the floating pillar puzzle.
Read more about How to get a merciless gun in Remnant 2
Floating Pillar Puzzle
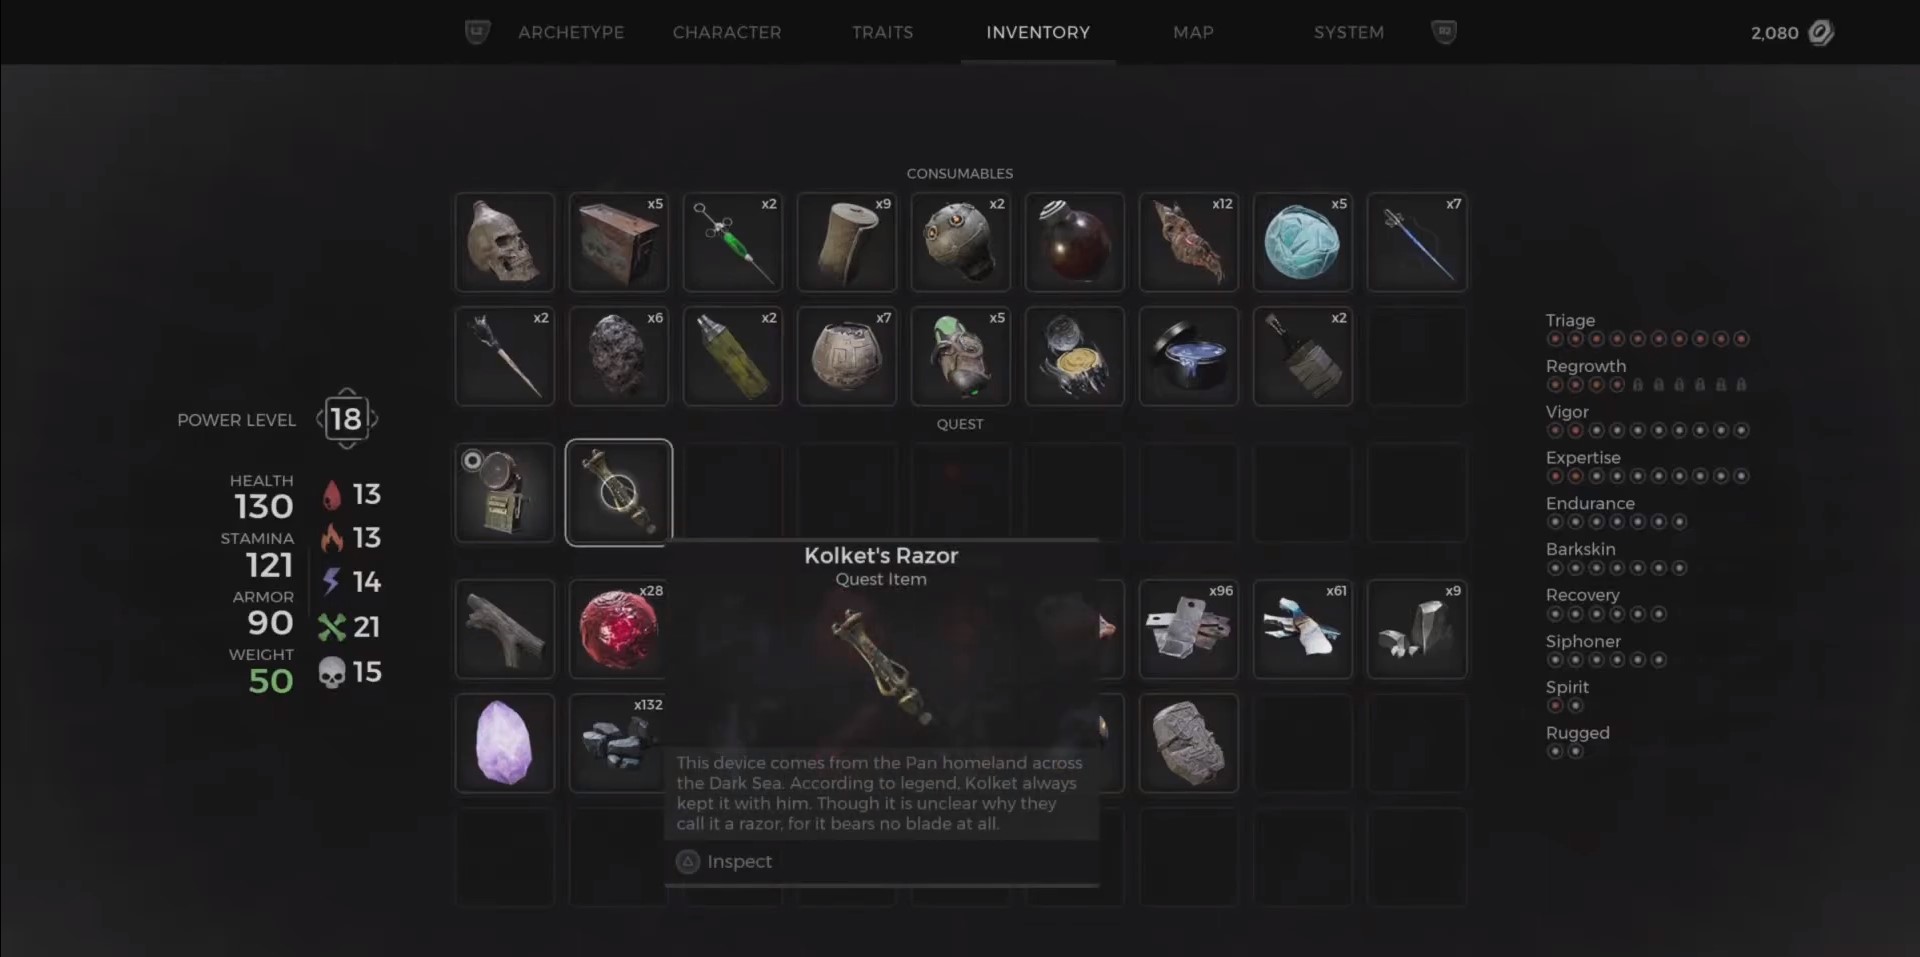
To unlock the floating puzzle, find the key by opening the chest in the next room, and defeating the boss Wither. Note that the boss’s spawn is random, and it may not appear. If it does, defeat Wither to obtain Kolket’s Razor, which can be interacted with in your inventory to transform it into a key.
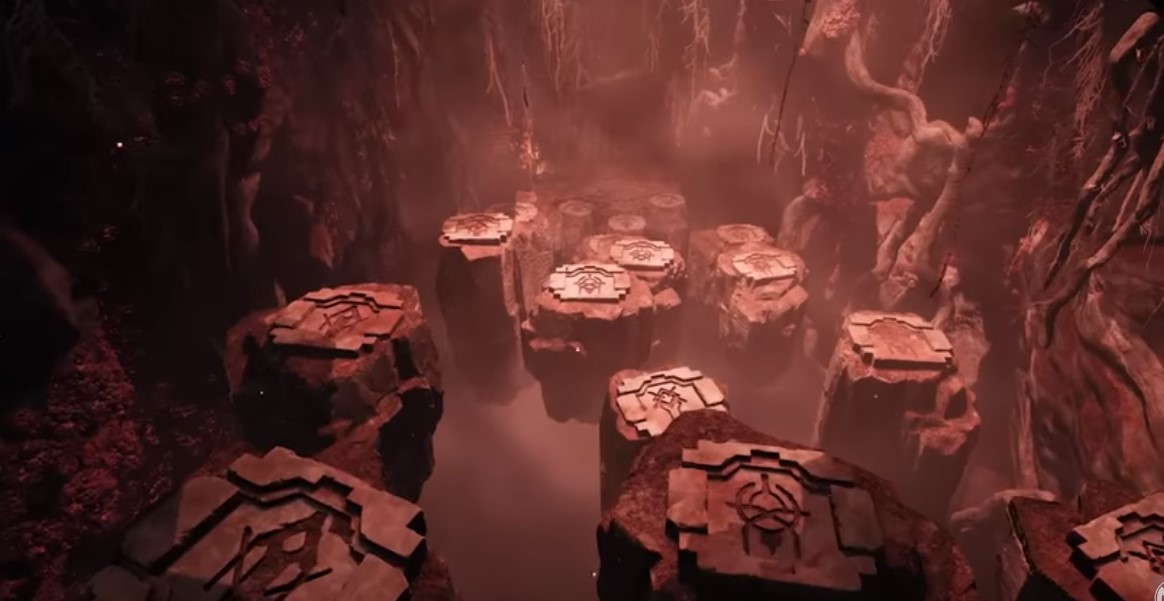
- Move through the dungeon by taking two consecutive left turns and descending into a tunnel. Jump down and take a right where enemies are present; choose to engage or bypass them. Continue descending until you encounter floating rocks
- Discover three floating rocks, one with an invisible path in a straight line. Shoot below the rocks to identify the hidden path. Progress to the next rock with a matching symbol.
- Follow this sequence until you reach the end of the area, where you’ll encounter another locked door.
- Use Kolket’s key to unlock it and discover two chests, each containing unique items: Ring of Diversion and Hardened iron x2.
Adjacent to the door’s right side, locate a hidden pathway leading to stairs. Jump the stairs to find a hanging chest at the end, containing the final item in the Lament—Lodestone Crown, a helmet. This concludes your exploration of the Lament.
Red Widow Armor
You have to complete the Consort puzzle in a room adorned with four statues crowned by crystals and eliminate each crystal to reveal a secret passage. Move through this passage to discover a chamber filled with statues, leading to a chest containing the Lithic Signet ring. Exercise caution, as one of the statues may come to life when unobserved. Defeating this animated statue grants a Shard Fragment.
- Upon solving the Consort’s Puzzle, you’ll encounter the coffin of the Red Widow. To reach it, return to the room housing the checkpoint, and destroy the pots in the corners to unveil a hidden passage.
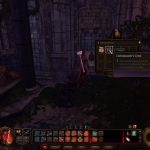
- Near the Rest checkpoint, a hidden opening to an underground tunnel can be found within the area marked by the white circle. This tunnel guides you to a room with a “Supply key.” Jump the stairs to return to the surface, and locate the supply door. Utilize the key to unlock the door and access the supplies within.
Remnant 2 The Lament: Supply Key - Once inside, open the left chest to obtain Scrap, Hardened iron, Relic dust, Oilskin balm, and additional Relic dust.
- Move down the ramp into a tunnel with spikes as traps. Going through by swiftly moving to your left when the left spike begins to retract, alternating sides until you reach the end of the trap tunnel.
At the path’s end, discover a chest containing the Red Widow Armor Set, characterized by its distinct stats.
- Red Widow Raiment – Body armor (Armor:45, Weight: 23)
- Red Widow Bracers – Gloves (Armor: 7, Weight: 5)
- Red Widow Headdress – Head armor (Armor:13, Weight: 8)
- Red Widow Leggings – Leg armor (Armor: 23, Weight:12)
Conclusion
In Remnant 2 The Lament, move through traps, solve puzzles, and unlock secrets to reveal valuable rewards. Complete the Consort’s Puzzle, access the Red Widow’s coffin, and discover hidden passages leading to the Supply Key room. Unlock the supply door for loot, including Scrap, Hardened iron, and the Red Widow Armor Set. Conclude your journey by overcoming traps in a tunnel to claim your well-earned rewards.
Author Profile
- Greetings, gamers! I'm Kanza, a physics enthusiast turning pixels into passion. Whether conquering Remnant 2, delving into Final Fantasy 16, or eagerly awaiting Starfield, my guides are your roadmap through the cosmos of gaming. Ready to level up?
More Articles
 Baldur's Gate 3November 1, 2023Unlock the Dawnmaster’s Crest in Baldur’s Gate 3 by Solving Stained Glass Puzzle
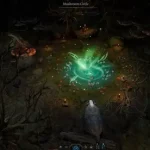 Baldur's Gate 3October 22, 2023Baldur’s Gate 3 Mushroom Circle: Unlocking Fast Travel and Secrets (Location and Use)
 GuidesOctober 21, 2023Remnant 2 Grime Crawler Guide: How to beat Grime Crawler to get Twisting Wound Mutator.
 GuidesOctober 20, 2023Remnant 2 The Nightweaver Boss Guide: Where to Find and Access Nightweaver Boss to get Secret Material.