
Destiny 2: How To Acquire Gift Of Navigation For The Imbaru Engine

Navigating Destiny 2’s Season of the Witch challenges brings Guardians to the fifth week, unlocking the Imbaru Engine—a repository of four distinct tests. Following the Strength and Cunning Test, Week 8 introduces the Test of Navigation, evaluating your ability to traverse through four portals hitting the matching rune elementals. However, to start this test you first need to find the Arcana card, Gift of Navigation for the Imbaru Engine.
This guide covers obtaining the Gift of Navigation, unlocking, and acing the Navigation Test. Join us on this journey to unveil the secrets and gain the insights needed for success in Destiny 2’s ever-evolving landscape.
Destiny 2: Where To Find Gift Of Navigation For The Imbaru Engine
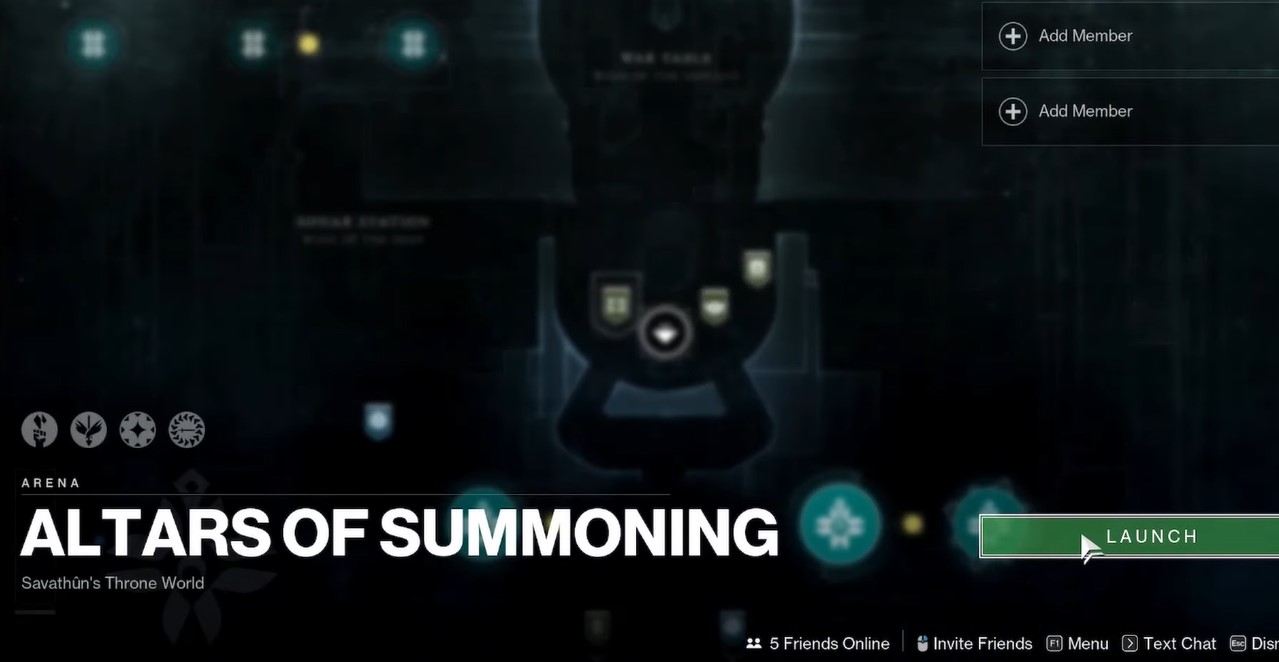
Once, you have completed the Strength and Cunning Test, you will now be able to take part in the Test of Navigation, however, that requires you first to get the Arcana card Gift of Navigation for the Imbaru Engine. To do so, the first thing you need to do is to spawn in the Altars of Summoning.

Reaching there, look towards your left, and you’ll see a lush green path going upwards. Take this path and run straight until you reach the Altar of Flesh, where a statue in the center will be holding this Gift of Navigation for the Imbaru Engine.
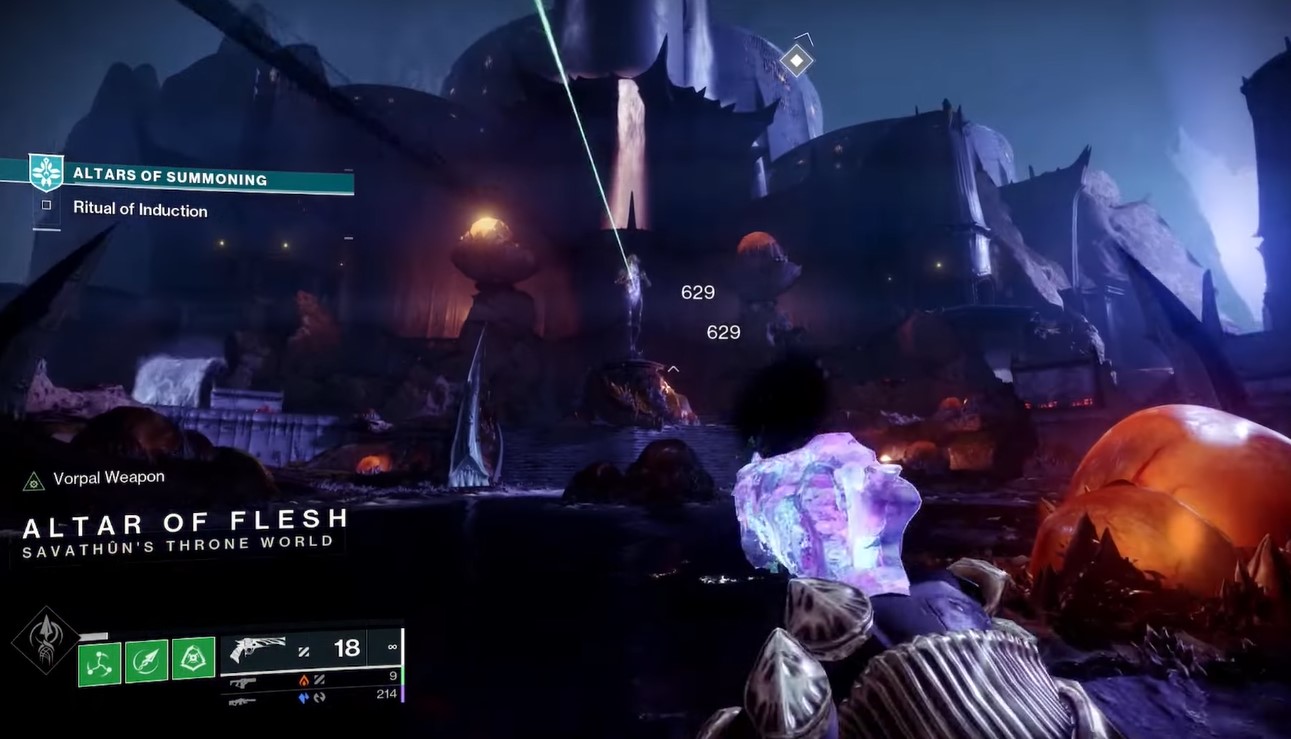
Destroy the crystal, that a statue will be holding, and it will reveal a Gift of Navigation for the Imbaru Engine.
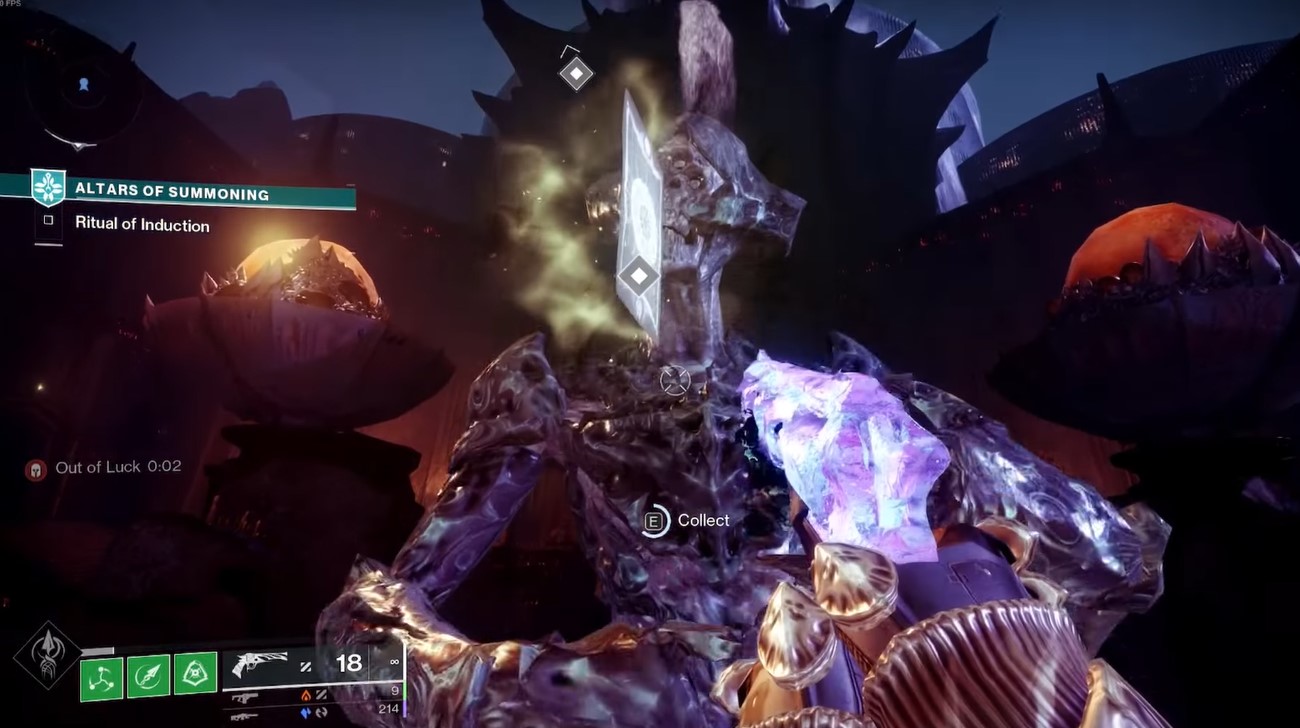
Now just climb, all the way up to the statue’s hands, and interact with the card to add it to your Deck of Whispers.
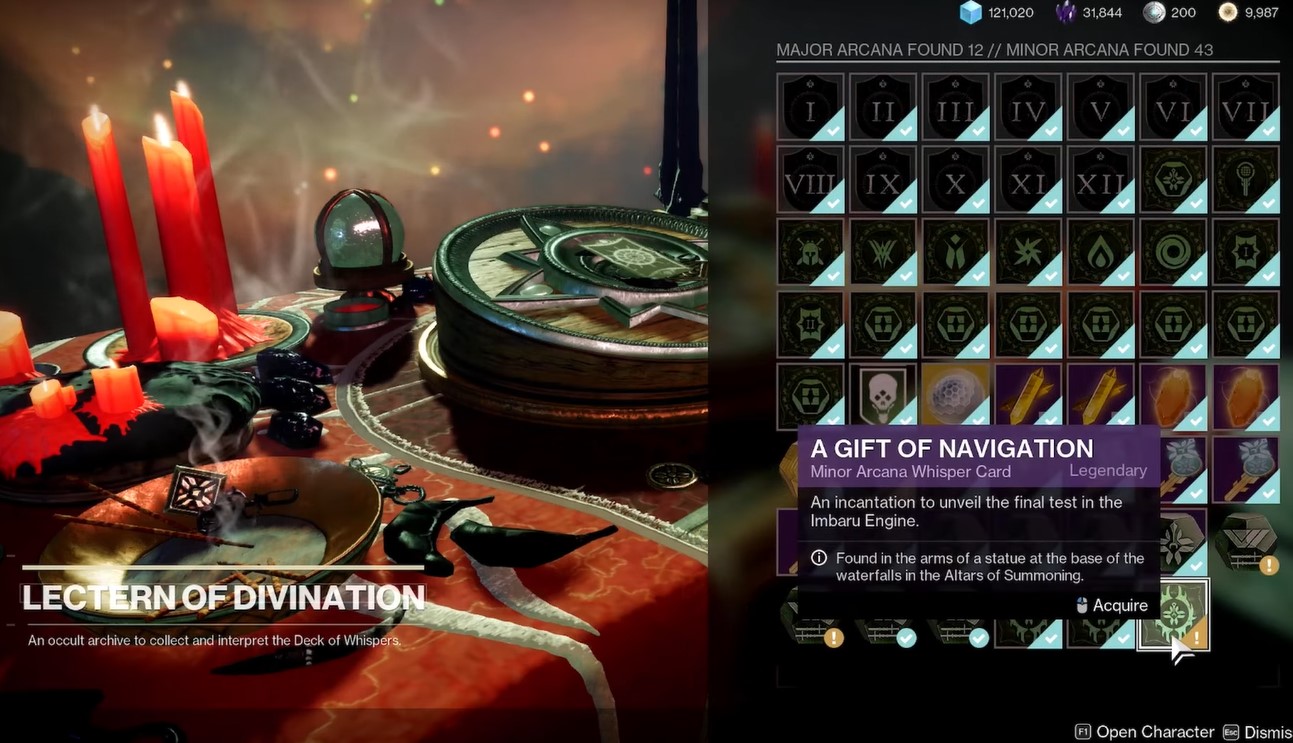
Once, you have the Gift of Nagivation card, in your deck, you now need to head back to the Athenaeum and there, claim your card at Lectern of Divination. Thus, once you have activated the card, you can now visit Imbaru Engine anytime, and start the Navigation test, interacting with the door.
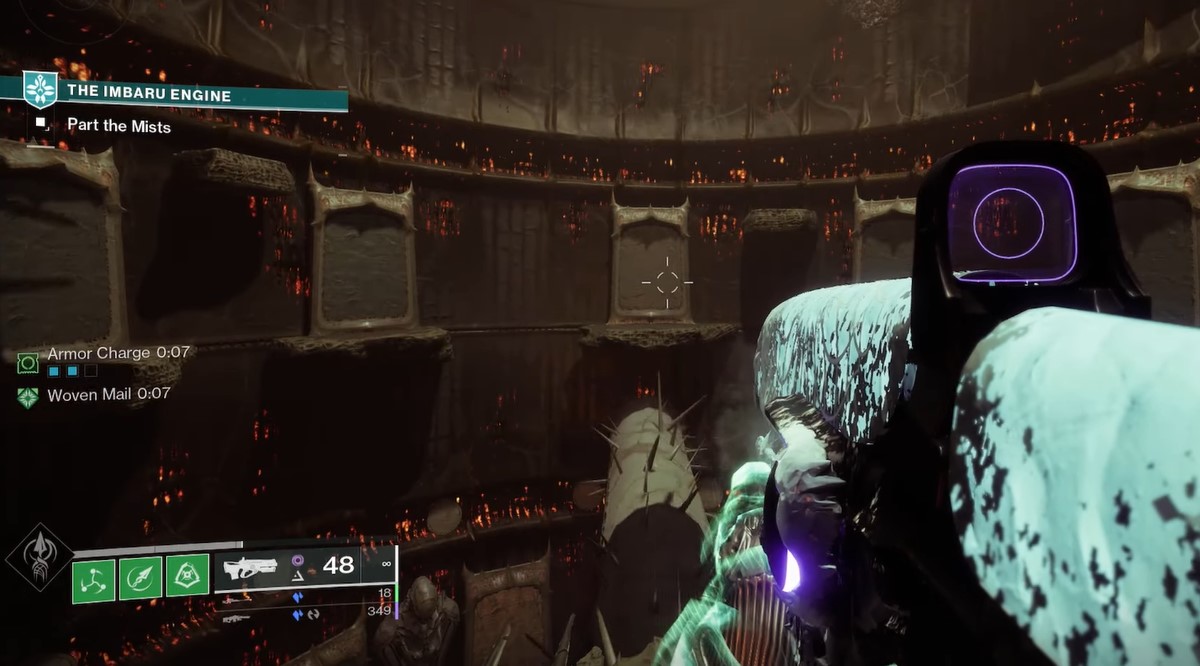
Fortunately, to get access to the door, you don’t have to perform the first two tests again, therefore, pass through the areas, skipping those tests. After successfully passing through the doors and big rolling obstacles, you will finally reach a door that will give you access to the Navigation Test using the Gift of Navigation for the Imbaru Engine.
Destiny 2: How To Complete Test Of Navigation

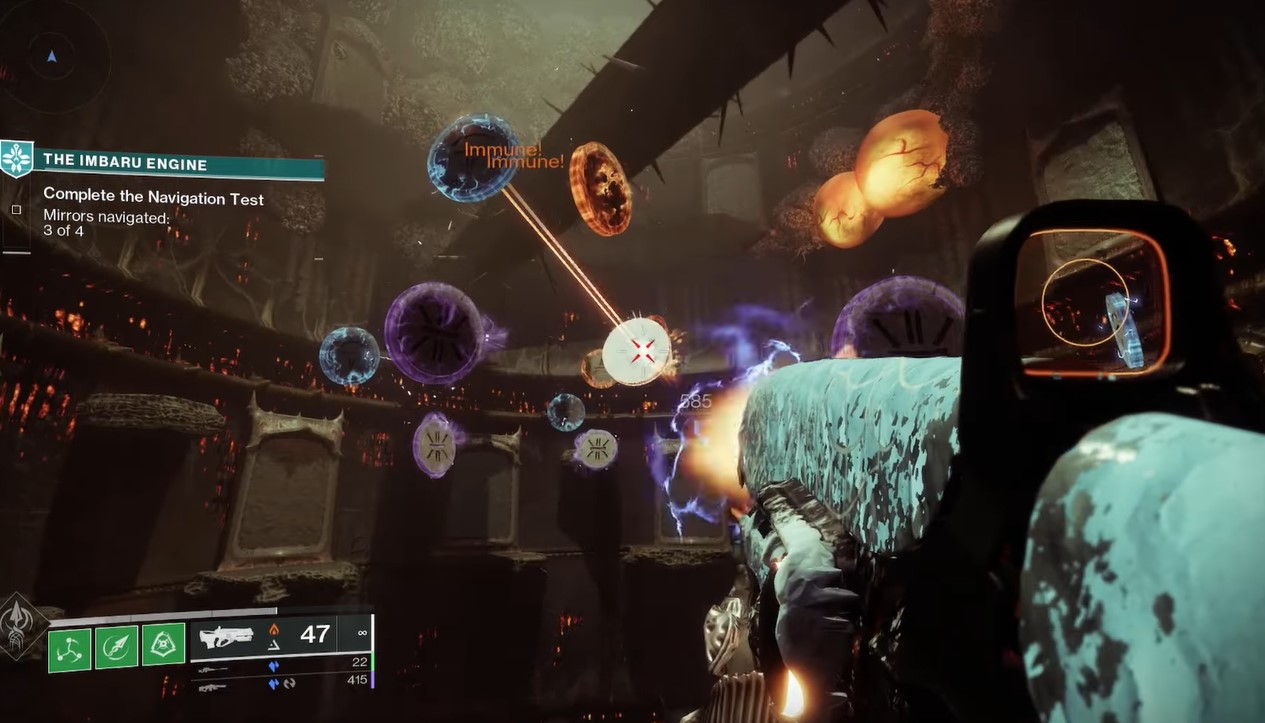
The Test of Navigation inside the Imbaru Engine in Destiny 2, unlike the previous tests, doesn’t involve you in an enemy fight, instead, there’s a puzzle that waits for you.

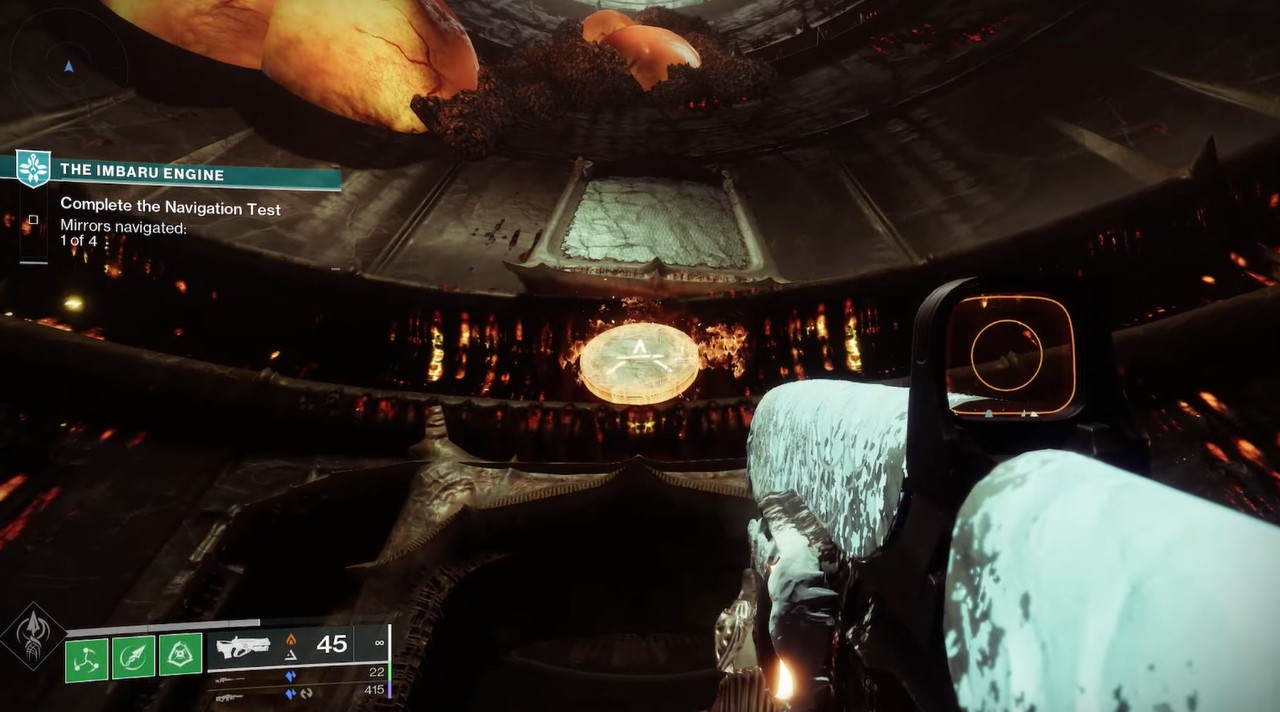
Here, you have to shoot the right runes, and each time you hit the rune a portal will open up. Thus, successfully hit all four correct runes, you will be able to make your way out, and this way, the Test of Navigation will be complete, offering you promising rewards.
Each time you enter a portal, look behind the door. On the left, right, or top of the door, you will find a rune, with a rune symbol and an element. You then need to find the rune, with the same symbol and hit it with the matching element.
Doing so will open up the corresponding door, passing through which you can enter the next portal with the same arrangement.
Before you get your hands on the Gift of Navigation for the Imbaru Engine, and take part in the Navigation test, make sure you have the Hardlight and have mastered the use of Arc, Solar, and Void. Having a Hardlight will help you shift these Light damages on a single press, thus making it easy for you to shoot the correct rune with the matching element in less time.
Solving The Navigation Test Puzzle

Inside the first portal as the test starts, look for the Arc Rune, towards the left of the door. As you will hit it, the door will door adjacent to it will open up.
Then inside the second portal, you need to find the Solar rune at the top. You will find this above the top of the fifth door counting from the right side of the door.

Then, as you enter the third portal, Savathun, laughs at us, as she tries to trick us. From the door behind your back, you will see a void rune towards the left of the door. However, you won’t be able to find any matching rune to shoot.
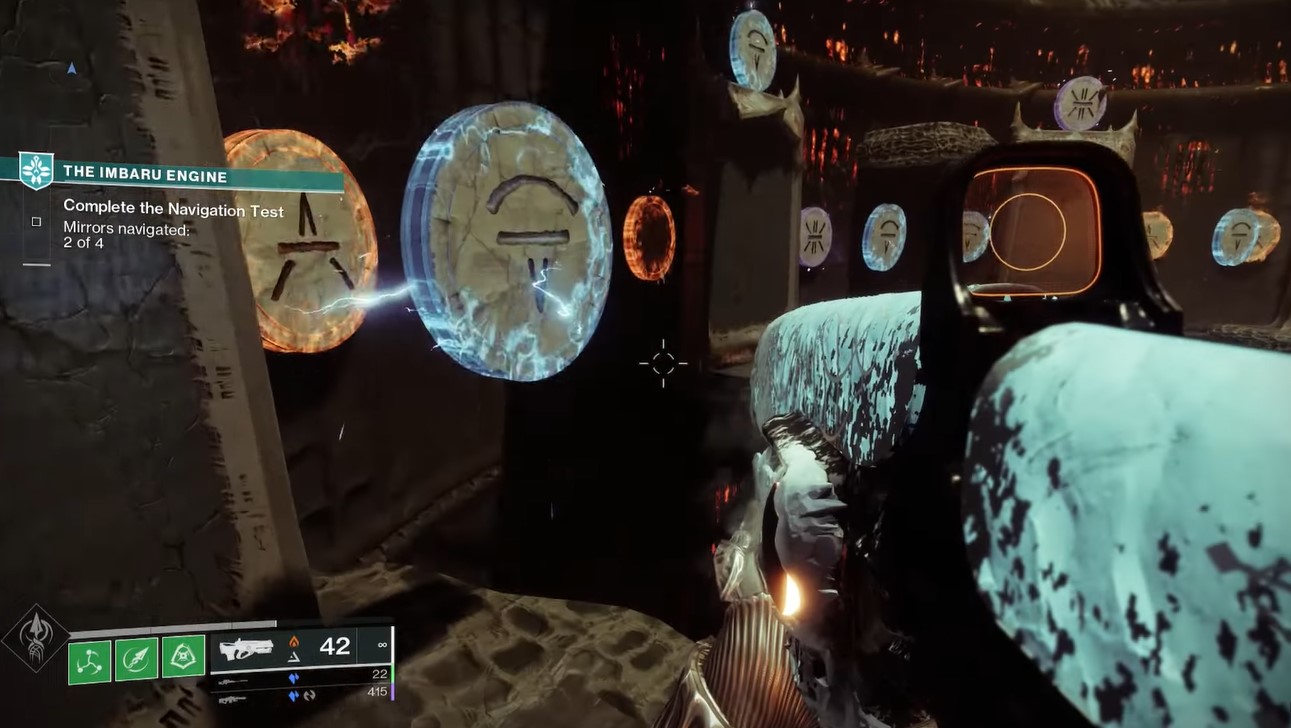
The reason is, that there’s a fake rune in front of each orignal rune, therefore, you need to move to each door’s location and look behind that rune to find the actual void rune.
Inside the last portal, shift to the Solar. Unlike other runes at the top, left, or right of the door this one is floating in the middle.
To shoot this one, from the entry door, jump left to the ledge, and look up, you will be able to see the Solar rune. Shoot it and the final portal will open up. With this, your Test of Navigation will be complete, and you can now claim the rewards.
Rewards
As you complete the Test of Navigation, you will achieve all the minor Arc cards, unlocking an Emblem, showcasing your mastery of the Test of Navigation.
Author Profile
- Civil Engineer by day, gamer by night. I delve into the realms of Final Fantasy 16 and Elden Rings, crafting epic gaming guides . Let's level up together and conquer the virtual worlds!
More Articles
 GuidesNovember 23, 2023How to Drown 20 Whorls in Risk of Rain Returns (Complete Guide)
 GamingNovember 12, 2023Destiny 2: How To Acquire Gift Of Navigation For The Imbaru Engine
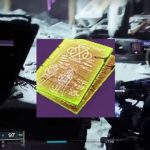 GamingNovember 8, 2023Spectral Pages in Destiny 2: How to Get, Farm, and Convert Spectral Pages into Manifested Pages.
 Destiny 2November 7, 2023Unlock the Clovis Bray Mask Through Cryptozoologist Event in Destiny 2